The Sierra Nevada is bear country. Bears are usually found between 3000 to 7000 feet, where they can find their natural foods. But black bears like human food as well: anything from a Snickers bar to toothpaste.
The Wild Ideas Bear Canister
Type: Bearikade Weekender
Size: 9 x 10, inch (22,8 x 26,7 cm)
Weight: 32 oz (900 gr)
Volume: 650 cubic inch (10,5 liter)
Costs: $288 (shipping costs to Europe incl. tax: ± € 75)
Bear Canister Brands
To avoid bears visiting your campsite, you need to store food securely. I will be hiking in the Sequoia Kings National Parks, where backcountry hikers are obliged to carry a bear canister. This is a container that bears cannot open nor carry away. I have bought the Bearikade Weekender from Wild Ideas. But before I settled for the Weekender, I did some tests and investigation.
There are different brands of bear canisters, all with pros and cons. The BearVault is a transparent plastic canister that comes in different sizes, and is quite popular among hikers. The Garcia and UDAP canisters are often rented out by the National Park service. My major problem with all these is the weight.
The Bearikade canisters, made of carbon fiber, are the lightest bear canisters available. And, so you’ve guessed, also the most expensive. But for me weight is more important than cost, so I chose the Bearikade.
Size and Volume
The Bearikade comes in sizes from 500 cubic inch (Scout) to 900 cubic inch (Expedition). According to the Wild Ideas website the Weekender (650 cubic inch) can contain about 6 days of food. I planned a hike of 14 days, with 1 resupply halfway, so I have to carry 7 days of food. But food for the first day does not have to fit in the canister, because it will be eaten before going to sleep (with the bear canister at a safe 100 feet distance).
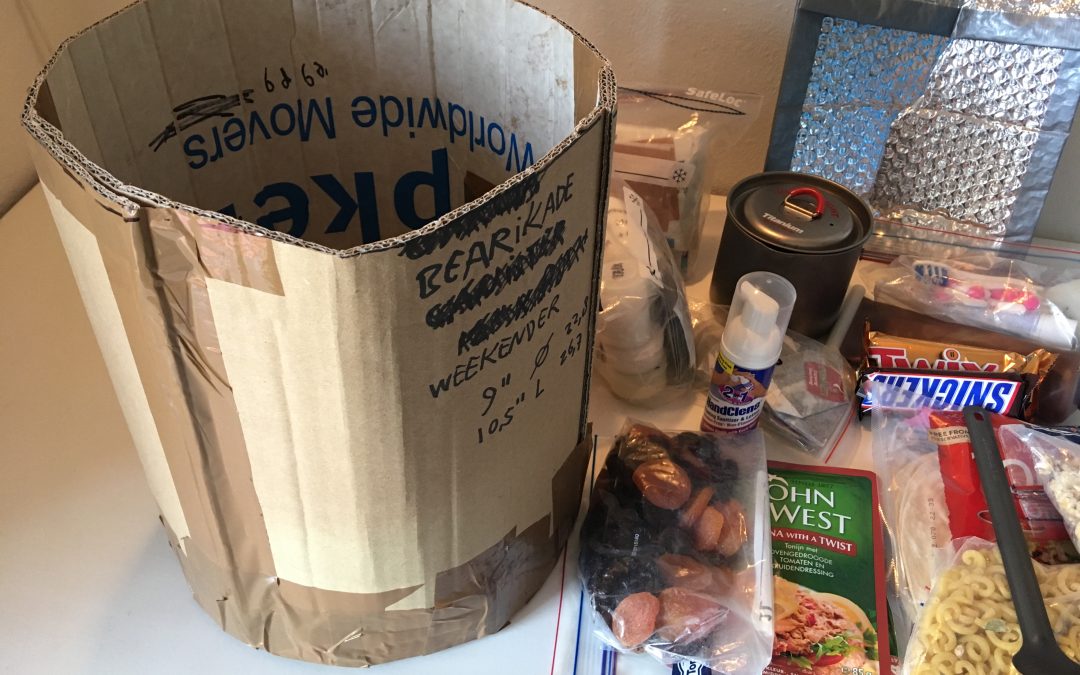
Just to make sure all my food AND toiletries AND fuel AND stove AND cup AND spoon (did I forget anything? Yes: my trash) would fit in the Weekender, I cut up a carton box and made a dummy in the exact size.
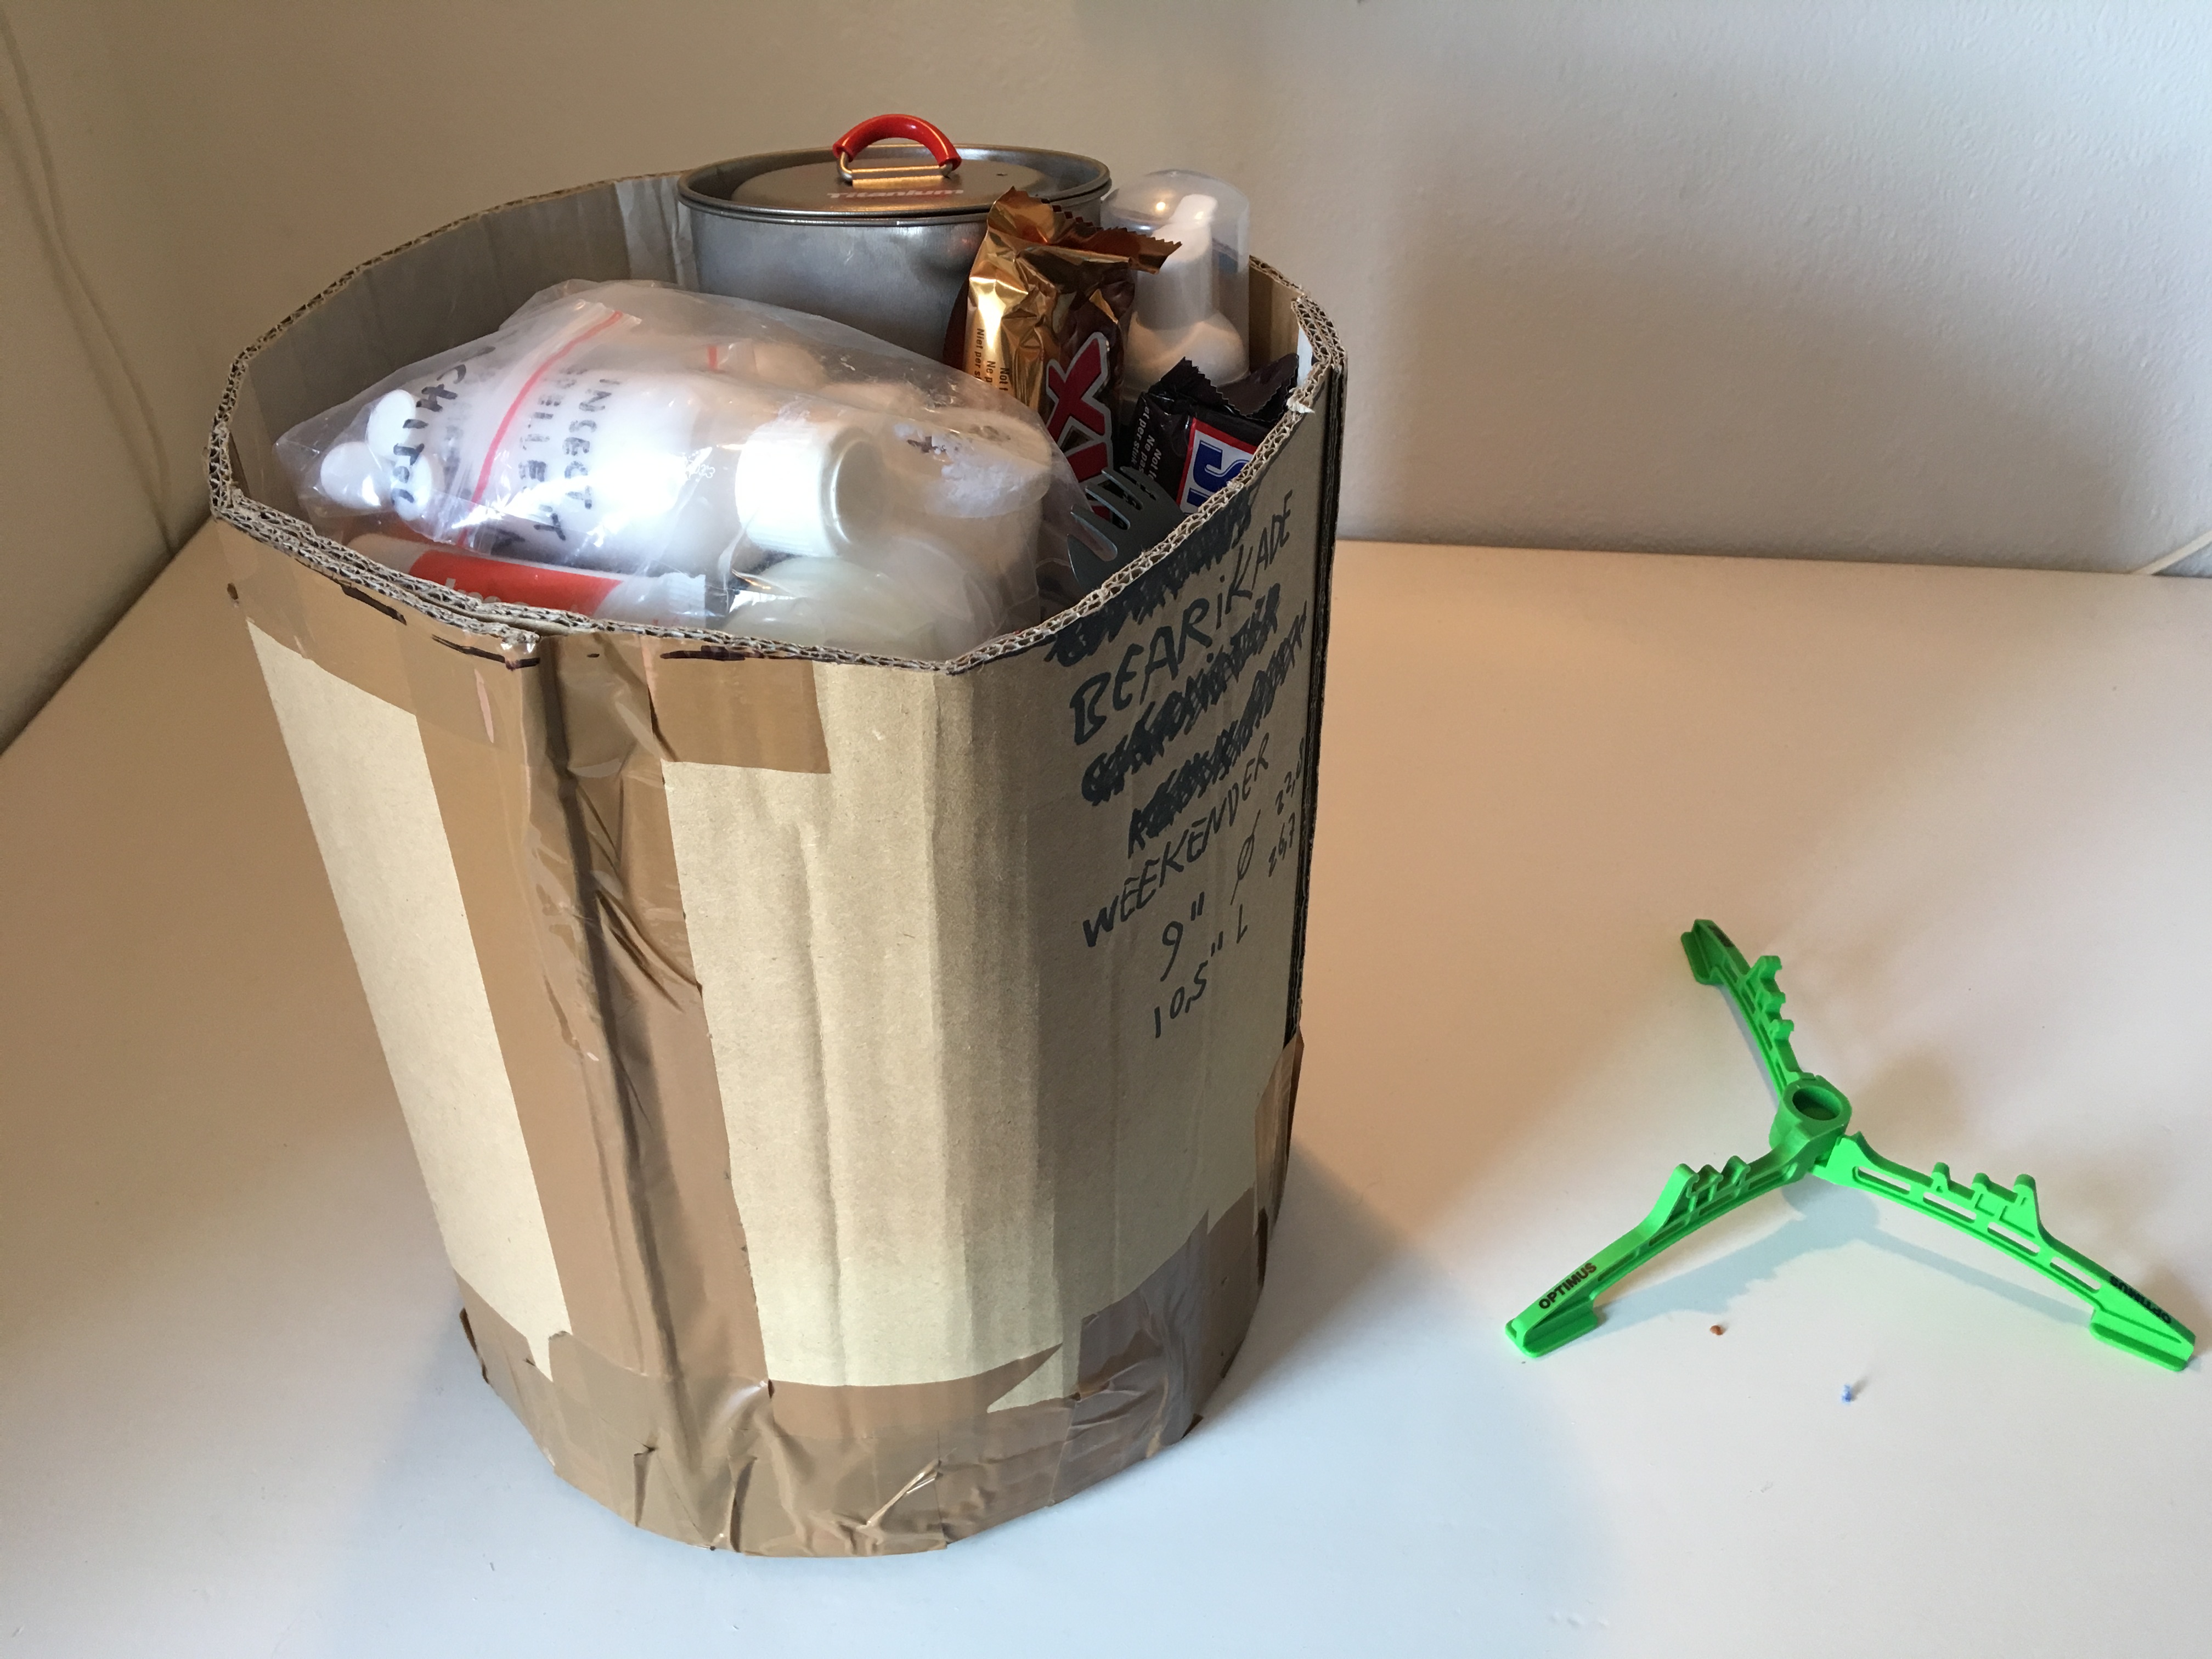
The test consisted of putting all the possible food and other stuff (that I carefully computed in a spreadsheeet) into several 1 liter ziplock bags and squeezing everthing into the carton box.
I was satisfied with the amount of stuff my dummy Weekender could hold. I also tested wether or not the canister would fit in my backpack. It did. I was ready to order the weekender.
Customizing the Bear Can
After a couple of weeks of anticipation, I could finally pick up my Weekender at the post office. When the package was handed to me I was surprised how light the package was for its size.
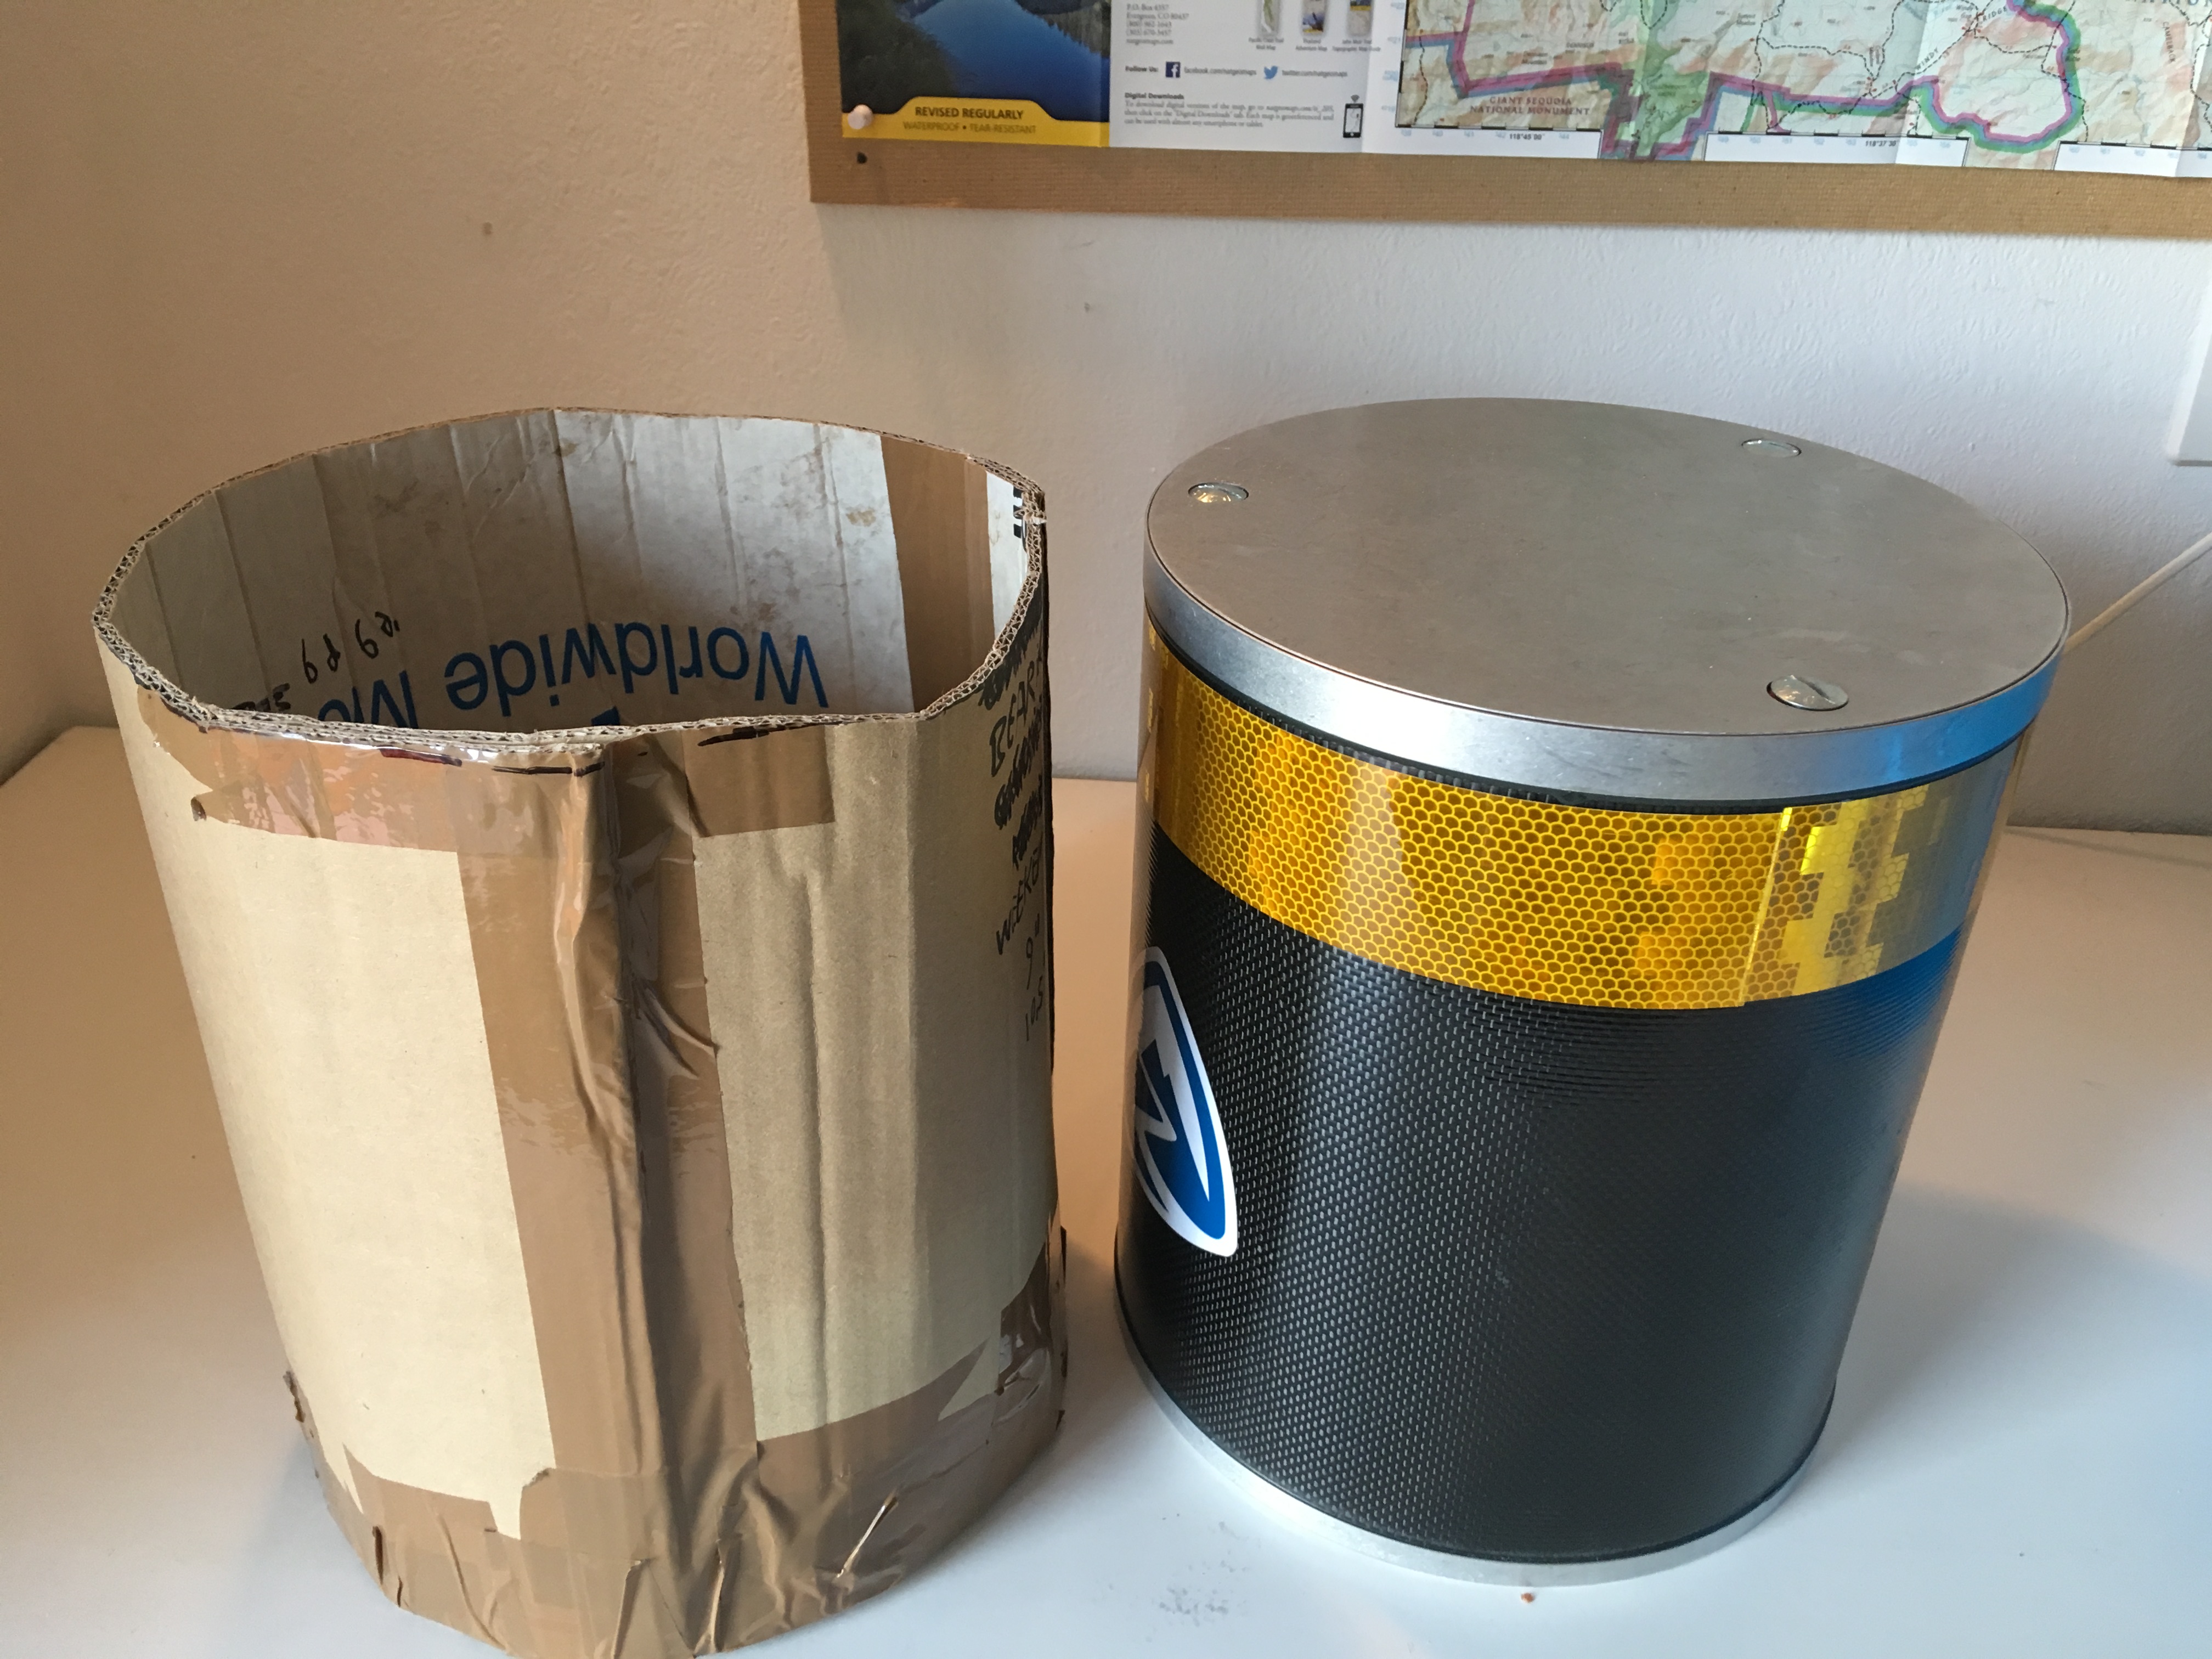
I had already ordered reflective yellow tape (the type they use on trucks) to stick on the Weekender. This will help me find the canister in the dark and also remind me which side is the top. I also might be with many other hikers in the same camp, especially on the Rae Lakes Loop. With the yellow tape I will easily recognize my can. I also customized it with some Zpacks stickers just because that’s a cool thing to do.
Closing the lid
I gathered all my freeze dried food and other stuff, this time with a precisely counted number of air filled ziplocks (I blew them up like a balloon) to fill up the space for all the supplies that I had used up in the past weeks of training. And everything fit quite fine.
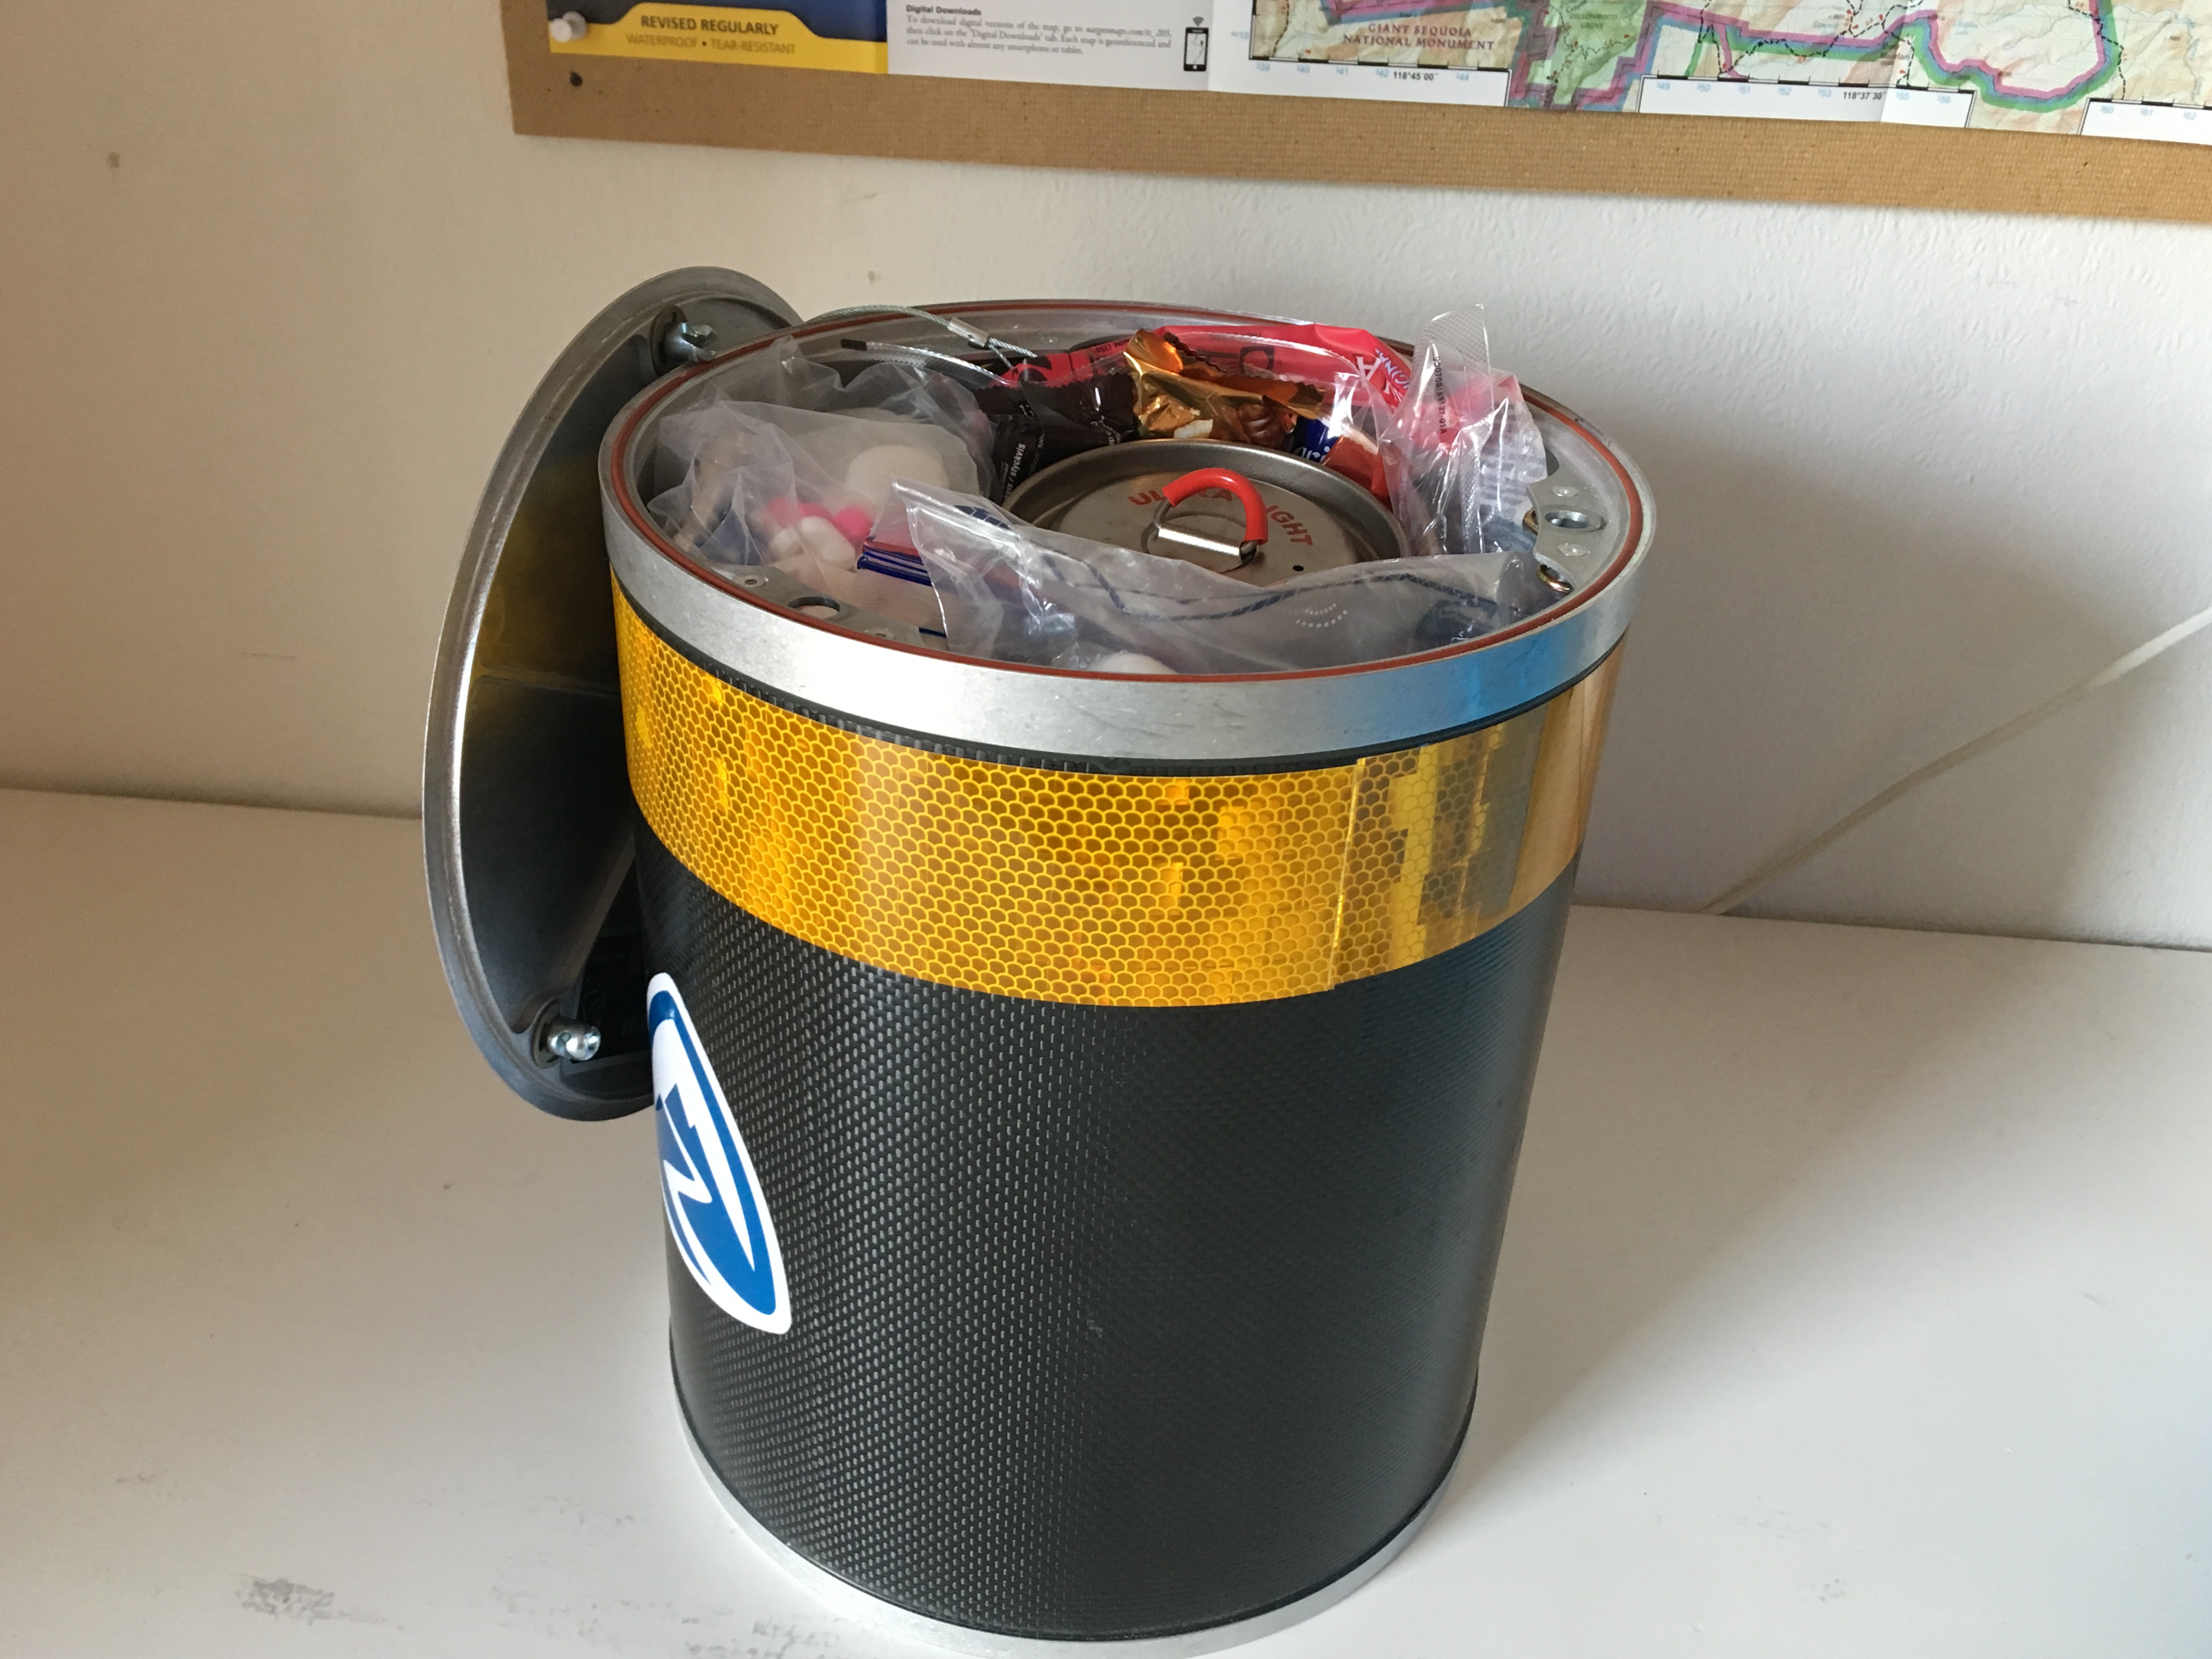
I also tested the Weekender in my ZPacks Arc Haul backpack. I put it on the inside of the pack, to keep a better balance. My puff jacket, towel and other stuff filled the empty spaces around the can. I carried it on a two-day training hike of 25 miles and I was quite happy with it. It was kind of heavy, due to the weight of all the food inside (11 pounds / 5 kg).
One final thing about the lid. To open it you need a screwdriver from your swiss army knife, or a coin. As I don’t intend to take coin money with me (I would definitely loose any coin) and because I carry the smallest pocket knife without a screwdriver, I have another solution. Find a loose ring from your Thingies Box in the basement (or shop at the hardware store) and tie it to a piece of cord that you can attach to your belt or backpack. You will not be sorry.
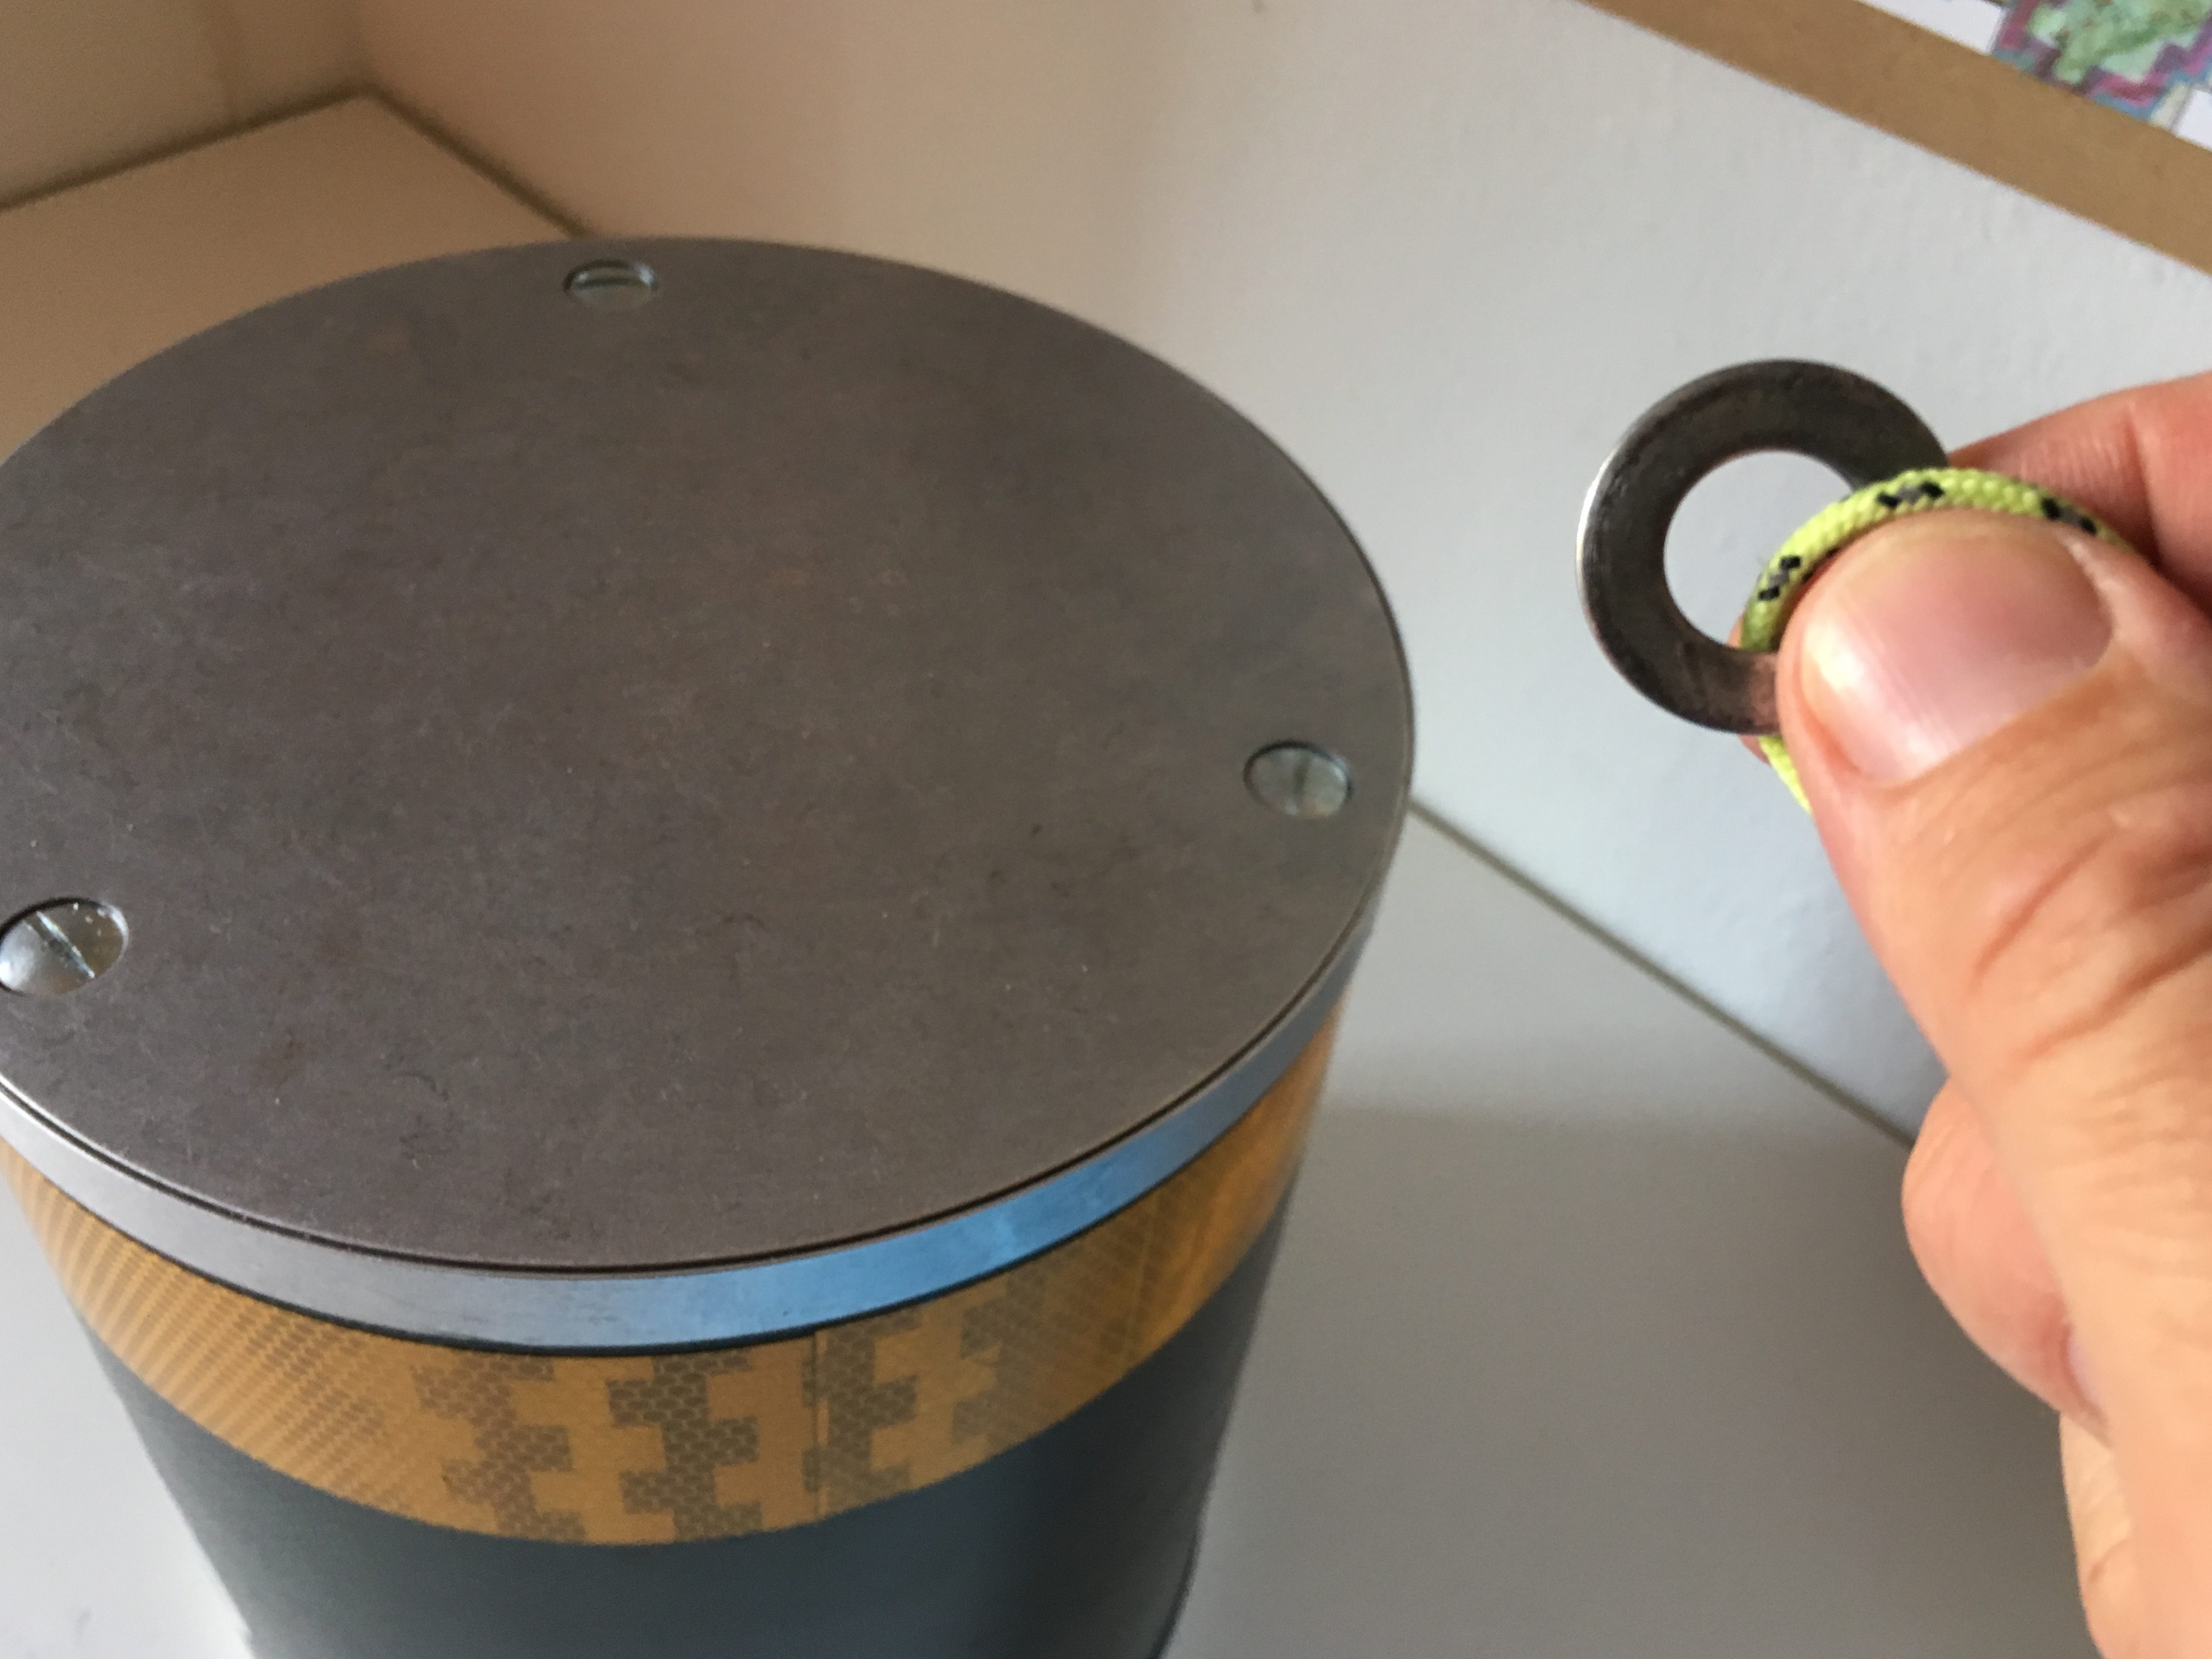

The thingy on cordage is just brilliant. I have tiny spider bug knife and I plan on attaching a bit of line with a thingy. Thanks for the tip!
Hello Lacey, it is a really great life hack I learned from a hiking vlogger one day.
Have a good hike!